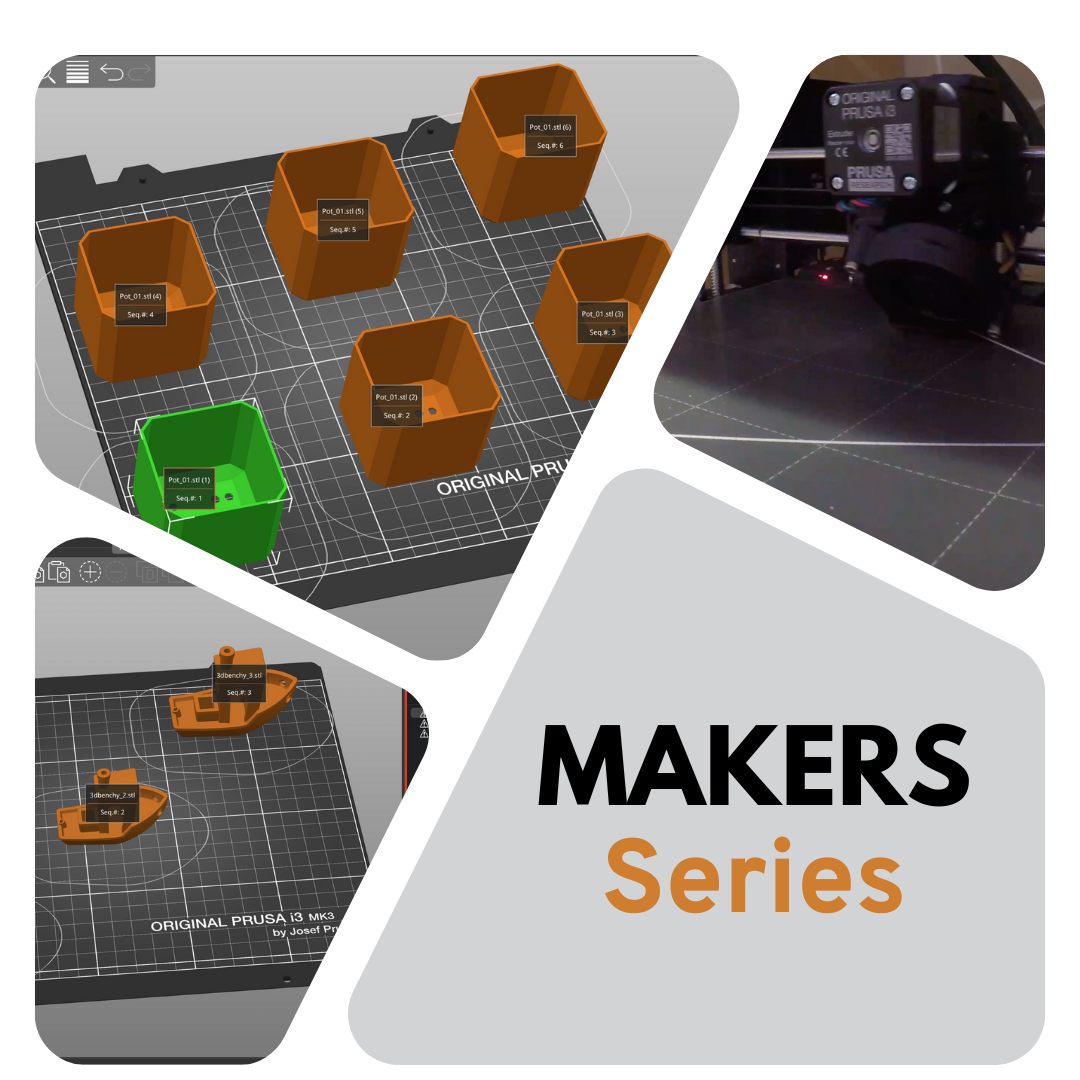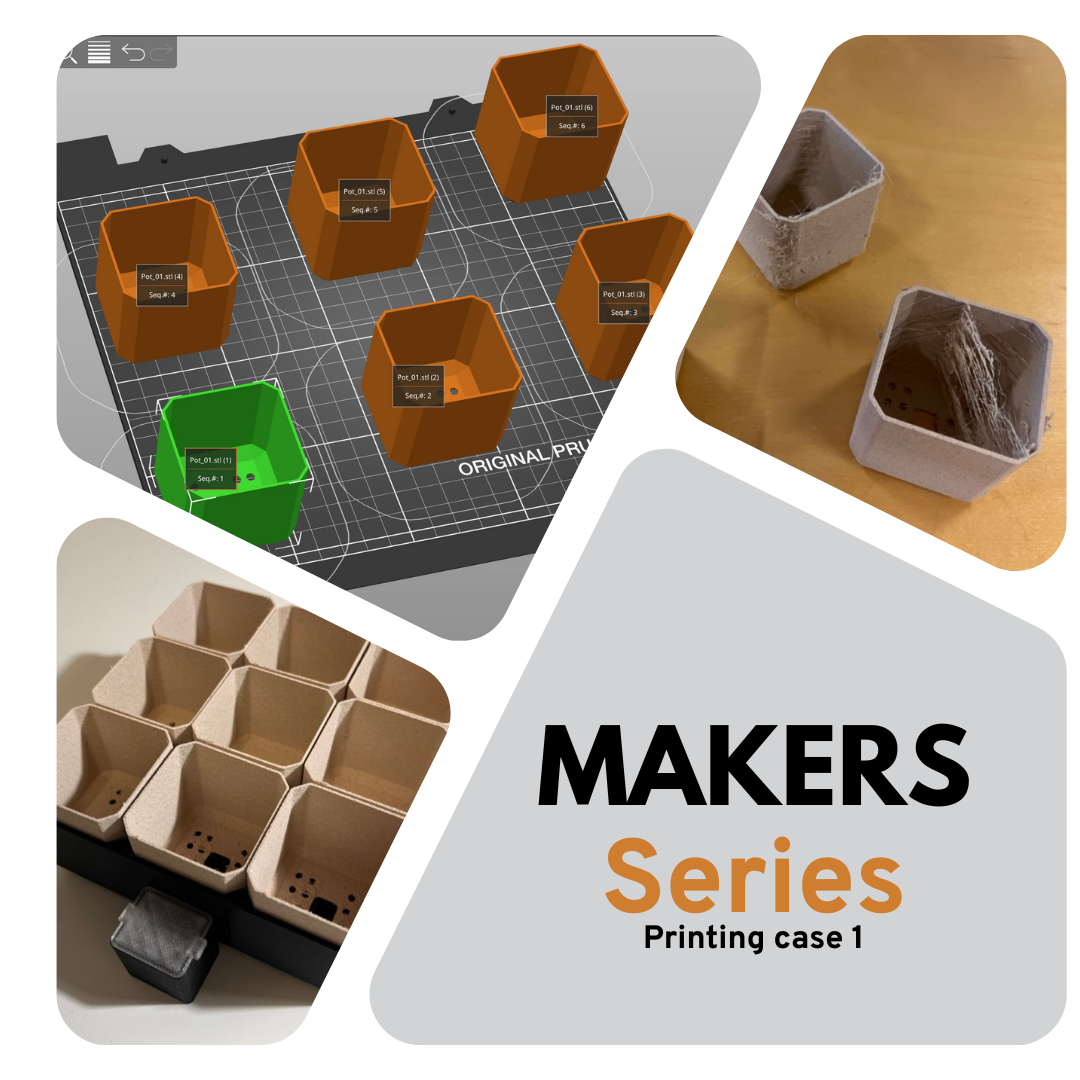
Sequential Printing Case 1
To test the benefits of sequential printing, I’ve chosen to print this awesome seed starter. The seed starter has 9 inserts to print, which is very suitable for sequential printing. In order to make this a real challenge, I’ve found the most “stringy” material we have; a fiberwood filament, that has been lying around for quite a while, absorbing plenty of most from the surroundings. The wooden texture of the filament is absolutely beautiful but quite difficult to print when being this wet. Another way to do this would be just printing one insert at a time - but I mean, who wants to stop whatever they are doing every 45 minutes to manually start a new print?
I wasn’t able to fit all 9 inserts onto one build plate, but as seen in the following picture, 6 inserts have been arranged so that sequential printing is possible. Note that the first insert is placed at the bottom left, the number two a bit further back to the right, etc. Placing every next insert just a bit further back is preventing the x-axis from colliding with the last printed object. To make PrusaSlicer accept this layout, the height parameter needs to be adjusted to around 50mm (this issue is discussed above).

Let’s see it in real life. To see the difference in stringing and overall quality, I’ve printed three inserts with regular printing (to the right) and three inserts using sequential printing (to the left). These have been printed using a 0.6mm nozzle and with only 1 perimeter wall thickness for both prints. However, sequential printing enables another awesome feature; using vase mode for multiple objects! This should help us reduce the stringing even more. Take a look at the video to see the differences.
After the prints are finished, the differences are quite visible. Sequential printing is definitely not necessary for all materials, but knowing that this material is much more “stringy” than other filaments, we can use this technique to improve the quality significantly. Looking at the results underneath, the difference is indeed noticeable. Hopefully, it shouldn’t be necessary to tell which of the three inserts are printed using regular printing and which have been using sequential printing.


Doing six additional inserts wraps up this beautiful seed starter and this chapter. I hoped you found sequential printing interesting and a useful feature for certain applications.

© The article was written to you by our awesome Additive Manufacturing Expert @ Vulkaza - Mads Rathcke Thomsen