We all know the feeling of printing with a very “stringy” material. Perhaps it’s just the characteristics of the given material or maybe the material is very hygroscopic (it likes to absorb moisture from the surroundings) and has been laying around for a while. Printing several objects in one go with a very stringy material often looks horrible when printed and requires a decent amount of post-processing to look nice. An easy workaround might be just to print one object at a time, but hey - that’s definitely not efficient, and even though we love printing, the need of having to set over a new print every 40 minutes isn’t preferable. Furthermore, adjusting retraction settings might help out, but sometimes you’re just dealing with material extremely difficult to print without stringing.
That’s where sequential printing comes in - it allows finishing one object before continuing on to the next. This naturally requires the Maker to pay extra attention to the placement of each object to avoid the extruder collide with one of the already printed objects. Oh, and as the clever reader might already have noticed, sequential printing is actually enabling vase mode for multiple objects - sweet! To turn this feature on (we’re using PrusaSlicer), go to Print Settings > Output options > Complete individual objects and tick the box as shown in the picture below.

Two further options are seen: Radius and Height.
- Radius represents the cylindrical clearance around the extruder nozzle
- Height represents the vertical distance from the tip of the nozzle to the lowest part of the printer outside the radius(which will usually be the lowest part of the x-axis rod).
The parameters seen above are the default parameters for a Prusa MK3. However, PrusaSlicer’s collision detection is at the time of writing (version 2.5.0) very basic and will often prevent you from exporting printable G-code, due to the slicer not being able to continuously calculate the correct position of the x-axis. A quick and easy workaround is to increase the height parameter, slice the objects and go through the G-code to ensure no collisions will happen. All right, this might sound a bit confusing but stick around for the Printing Case, then I promise that it all makes sense.
Placement & order of printing
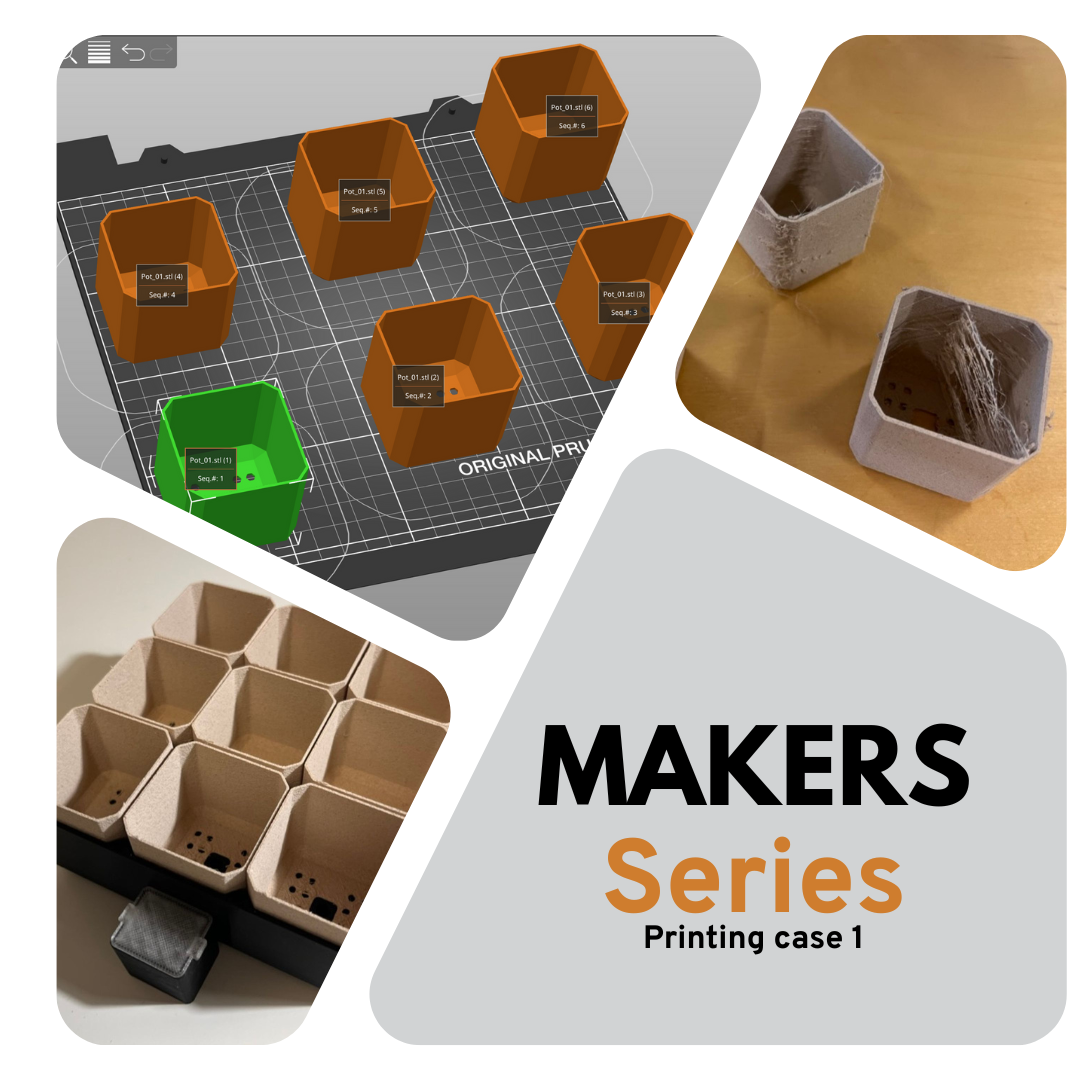
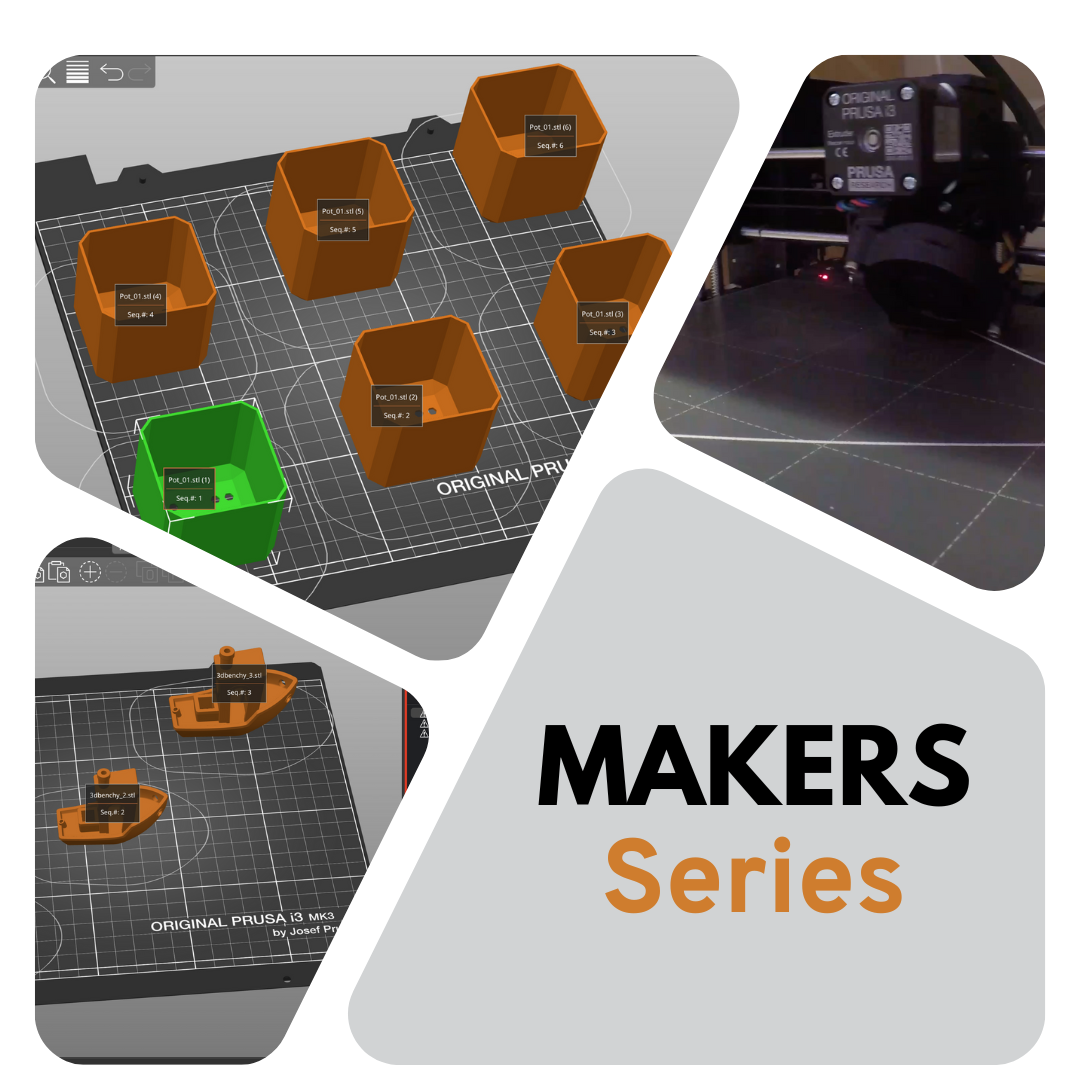
To succeed in sequential printing, we need to pay extra attention to how the objects are placed on the build plate and in which order they are sorted in the object list (seen on the right side).
- Placement on build plate: The general rule of thumb is to print from front to back, left to right, and lowest to tallest object. This will minimize the change of collision, as the x-axis is usually behind the extruder and the extruder takes up a bit more space to the right due to the print fan (this is true for the Prusa, but might not be for all printers). As seen in the picture underneath, the clearance radius around each is visually shown.
- Order of objects: As with the placement, it is important to tell the slicer in which order the object should be printed. This is simply done by sorting them from first to last in the object list. Additionally, pressing E will show the order of the objects in the 3D editor view. See the picture below for clarification.

Okay, now that we've sorted out all the theory, who's interested in exploring an example where sequential printing could be advantageous? We'll delve into this topic in the upcoming Part Two blog, so be sure to check it out!
© The article was written to you by our awesome Additive Manufacturing Expert @ Vulkaza - Mads Rathcke Thomsen